Creating a calculator app is one of the most exciting projects for beginners and experienced developers alike. In this guide, you will learn how to create a functional and visually appealing calculator app using HTML, CSS and JavaScript.
Follow the steps below to get started!.
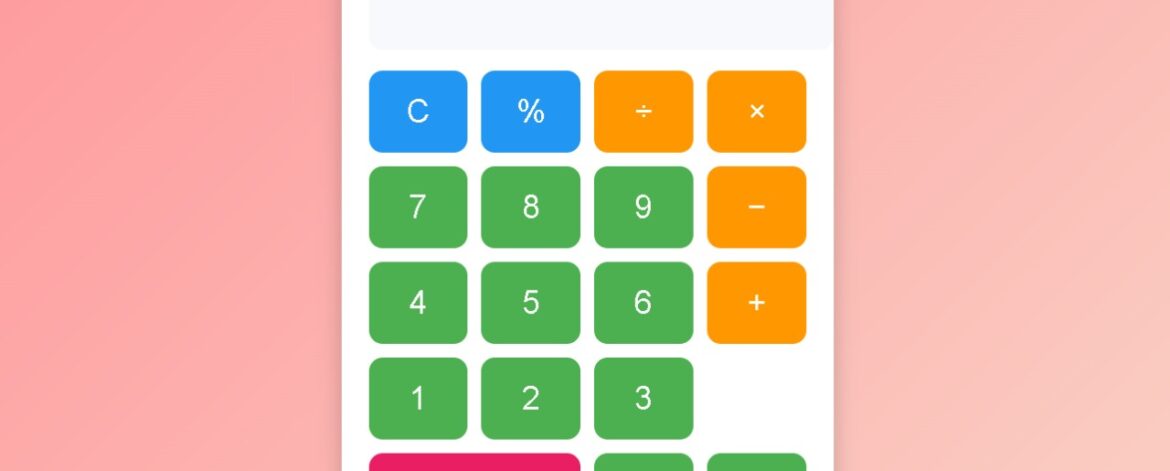
Final Output Preview
Step 1: HTML Structure
The HTML code sets up the structure of the calculator. Here’s the code:
<!DOCTYPE html>
<html lang=”en”>
<head>
<meta charset=”UTF-8″>
<meta name=”viewport” content=”width=device-width, initial-scale=1.0″>
<title>Colorful Calculator App</title>
<link rel=”stylesheet” href=”styles.css”>
</head>
<body>
<div class=”calculator”>
<input type=”text” id=”result” class=”result” disabled>
<div class=”buttons”>
<button class=”btn function” onclick=”clearResult()”>C</button>
<button class=”btn function” onclick=”appendValue(‘%’)”>%</button>
<button class=”btn operator” onclick=”appendValue(‘/’)”>÷</button>
<button class=”btn operator” onclick=”appendValue(‘*’)”>×</button>
<button class=”btn number” onclick=”appendValue(‘7’)”>7</button>
<button class=”btn number” onclick=”appendValue(‘8’)”>8</button>
<button class=”btn number” onclick=”appendValue(‘9’)”>9</button>
<button class=”btn operator” onclick=”appendValue(‘-‘)”>−</button>
<button class=”btn number” onclick=”appendValue(‘4’)”>4</button>
<button class=”btn number” onclick=”appendValue(‘5’)”>5</button>
<button class=”btn number” onclick=”appendValue(‘6’)”>6</button>
<button class=”btn operator” onclick=”appendValue(‘+’)”>+</button>
<button class=”btn number” onclick=”appendValue(‘1’)”>1</button>
<button class=”btn number” onclick=”appendValue(‘2’)”>2</button>
<button class=”btn number” onclick=”appendValue(‘3’)”>3</button>
<button class=”btn equals” onclick=”calculateResult()”>=</button>
<button class=”btn number” onclick=”appendValue(‘0’)”>0</button>
<button class=”btn number” onclick=”appendValue(‘.’)”>.</button>
</div>
</div>
<script src=”script.js”></script>
</body>
</html>
Step 2: Styling with CSS
Now let’s style the calculator to make it colorful and modern. The CSS will include grid layout for buttons, hover effects, and background gradients.
/* General Styles */
body {
font-family: ‘Arial’, sans-serif;
display: flex;
justify-content: center;
align-items: center;
height: 100vh;
background: linear-gradient(135deg, #ff9a9e, #fad0c4);
margin: 0;
}
/* Calculator Styles */
.calculator {
background: #ffffff;
padding: 20px;
border-radius: 15px;
box-shadow: 0 8px 15px rgba(0, 0, 0, 0.2);
width: 320px;
}
.result {
width: 100%;
height: 60px;
text-align: right;
font-size: 2em;
padding: 10px;
margin-bottom: 15px;
border: none;
background: #f7f9fc;
border-radius: 10px;
color: #333;
}
/* Button Styles */
.buttons {
display: grid;
grid-template-columns: repeat(4, 1fr);
gap: 10px;
}
button {
height: 60px;
font-size: 1.5em;
border: none;
border-radius: 10px;
cursor: pointer;
color: #ffffff;
transition: all 0.3s ease;
}
/* Button Colors */
.btn.number {
background: #4caf50;
}
.btn.number:hover {
background: #45a049;
}
.btn.operator {
background: #ff9800;
}
.btn.operator:hover {
background: #e68900;
}
.btn.function {
background: #2196f3;
}
.btn.function:hover {
background: #1976d2;
}
.equals {
background: #e91e63;
grid-column: span 2;
}
.equals:hover {
background: #c2185b;
}
Step 3: Adding Functionality with JavaScript
JavaScript will handle the calculator’s logic, including appending values, clearing the input, and calculating results.
function appendValue(value) {
const resultField = document.getElementById(‘result’);
resultField.value += value;
}
function clearResult() {
const resultField = document.getElementById(‘result’);
resultField.value = ”;
}
function calculateResult() {
const resultField = document.getElementById(‘result’);
try {
resultField.value = eval(resultField.value) || ”;
} catch {
resultField.value = ‘Error’;
}
}